A Little Taste of Japan, From My Kitchen to Yours
Japanese Salted Salmon (Shiozake)
Course: Main, Dessert, SidesCuisine: Japanese11
servings10
minutes10
minutesKeep the screen of your device on
Ingredients
600 g skin-on salmon fillets, cut into portions
30 g salt (5% of the salmon's weight)
1–2 tablespoons sake
5 cm daikon radish, grated, optional
Understanding the Salt Ratio
For this recipe, use 30 g of salt for every 600 g of salmon. Weighing the salt rather than measuring it by volume gives you a more consistent result, as different types of salt have different crystal sizes and densities.
A 5% salt ratio creates a distinctly seasoned, traditional-style result. If you prefer a milder flavor, you can reduce the salt to 3–4% of the salmon's weight, although the final seasoning and texture will be slightly different.
Chef Sandra's note: Choose fresh, good-quality salmon with firm flesh, a clean smell, and skin that remains intact. Skin-on fillets are ideal because the skin helps protect the flesh during cooking and can become deliciously crisp when grilled.
Directions
- Step 1 — Prepare the Salmon
1. If using a whole side of salmon, place it skin-side down on a clean cutting board. Using a sharp knife, cut the fish diagonally across the grain into portions approximately 2–3 cm thick. Cutting on a slight diagonal creates attractive portions and helps them cook evenly.
2. If using ready-cut fillets, check for any remaining pin bones and remove them with clean fish tweezers.
3. Inspect the salmon for scales, loose bones, or damaged areas and trim away any unwanted pieces.
4. Pat the salmon thoroughly dry with paper towels, paying particular attention to the skin and the cut surfaces.
Why this matters: Removing excess surface moisture allows the salt to contact the fish evenly. Consistent portion thickness also helps the salmon cure and cook at a similar rate. - Step 2 — Apply the Sake
1. Arrange the salmon portions in a shallow, non-reactive dish.
2. Drizzle 1–2 tablespoons of sake over the fish, turning the portions gently so the liquid touches both the flesh and skin.
3. Leave for approximately 10 minutes in the refrigerator.
4. Remove the salmon and pat each portion dry again with fresh paper towels.
Why use sake? Sake contributes a subtle aroma and helps soften strong fishy odors without overpowering the natural flavor of the salmon. Patting the fish dry afterward prevents excess liquid from diluting the salt.
Chef's tip: Sake is optional. If you prefer the cleanest expression of salmon and salt, you can omit it and proceed directly to seasoning. - Step 3 — Season with Salt
1. Weigh out 30 g of salt for 600 g of salmon.
2. Sprinkle the salt evenly over the flesh, sides, and skin of each portion. Pay attention to thicker areas, where an even distribution is especially important.
3. Gently press the salt against the surface so it adheres. Avoid rubbing aggressively, which can damage the flesh.
4. Arrange the salted salmon in a single layer in a clean, food-safe container lined with fresh paper towels.
5. If you need to stack the portions, separate each layer with fresh paper towels and avoid tightly compressing the fish.
Why this matters: Even seasoning helps prevent overly salty patches and ensures that the curing process develops consistently across each portion. - Step 4 — Cure the Salmon for 48 Hours
1. Cover the container and place it in the refrigerator at 4°C or below.
2. Leave the salmon to cure for 48 hours. During this time, the salt draws moisture from the flesh, concentrating its flavor and giving it a firmer texture.
3. Check the container after approximately 12–24 hours. If the paper towels are wet, replace them with fresh, clean towels and return the salmon to the refrigerator promptly.
4. Keep the salmon refrigerated throughout the curing process. Do not leave it at room temperature, and avoid placing it in a warm part of the refrigerator or storing it in a container where liquid pools around the fish.
5. After 48 hours, remove the salmon from the refrigerator. The flesh should feel firmer than when freshly prepared, and the surface should appear less wet.
What happens during curing?
• Flavor: Salt seasons the fish throughout and concentrates its natural savory taste.
• Texture: Moisture loss makes the flesh firmer and more compact.
• Surface: A drier surface helps the salmon brown more effectively during grilling.
Important food-safety note: This is a refrigerated salt cure, not a cooking process or a validated preservation method. The salmon remains raw during curing and must be cooked thoroughly before serving. Use fresh fish, maintain safe refrigeration, and do not extend the curing time unnecessarily. - Step 5 — Prepare the Salmon for Cooking
1. Remove the salmon from the refrigerator and discard the used paper towels.
2. Pat each portion dry with fresh paper towels, removing excess surface moisture and any loose salt crystals.
3. Do not rinse the salmon automatically. Rinsing can add moisture back to the surface and wash away seasoning. If you find the fish too salty after curing, you can briefly rinse it and pat it completely dry, but this will change the seasoning and may reduce the crispness of the skin.
4. Allow the salmon to remain refrigerated until your oven and tray are ready. Avoid leaving raw fish out at room temperature for an extended period.
Chef's tip: The surface should be dry before it goes under the broiler. A dry surface encourages browning, while excess moisture can cause the fish to steam instead. - Step 6 — Broil or Grill the Salmon
Cooking time: Approximately 8–15 minutes
1. Preheat the oven broiler on high. Position the oven rack so the salmon is close enough to brown without placing it so near the heating element that the exterior burns before the center cooks.
2. Line a baking tray with foil. Lightly oil the foil to prevent sticking, especially if the salmon skin is delicate.
3. Arrange the salmon portions skin-side up on the tray, leaving space between each piece to encourage even cooking.
4. Place the tray under the broiler and cook for approximately 8–10 minutes for smaller or thinner portions. Thicker pieces may require 12–15 minutes or longer, depending on their size, the oven, and the distance from the heating element.
5. Watch the salmon carefully as it cooks. The skin should become browned and lightly blistered, while the flesh gradually turns opaque.
6. If the skin is browning too quickly before the center is cooked, move the tray farther from the heating element or reduce the heat. Continue cooking until the thickest part reaches an internal temperature of 63°C, checked with a food thermometer.
7. Remove the salmon from the oven and let it rest for 1–2 minutes before serving.
Should you flip the salmon? Not necessarily. For a broiler method with the skin facing up, leaving the fish unturned helps the skin brown and crisp. If using a conventional oven or a different grill setup, you may need to adjust the positioning to cook the flesh evenly.
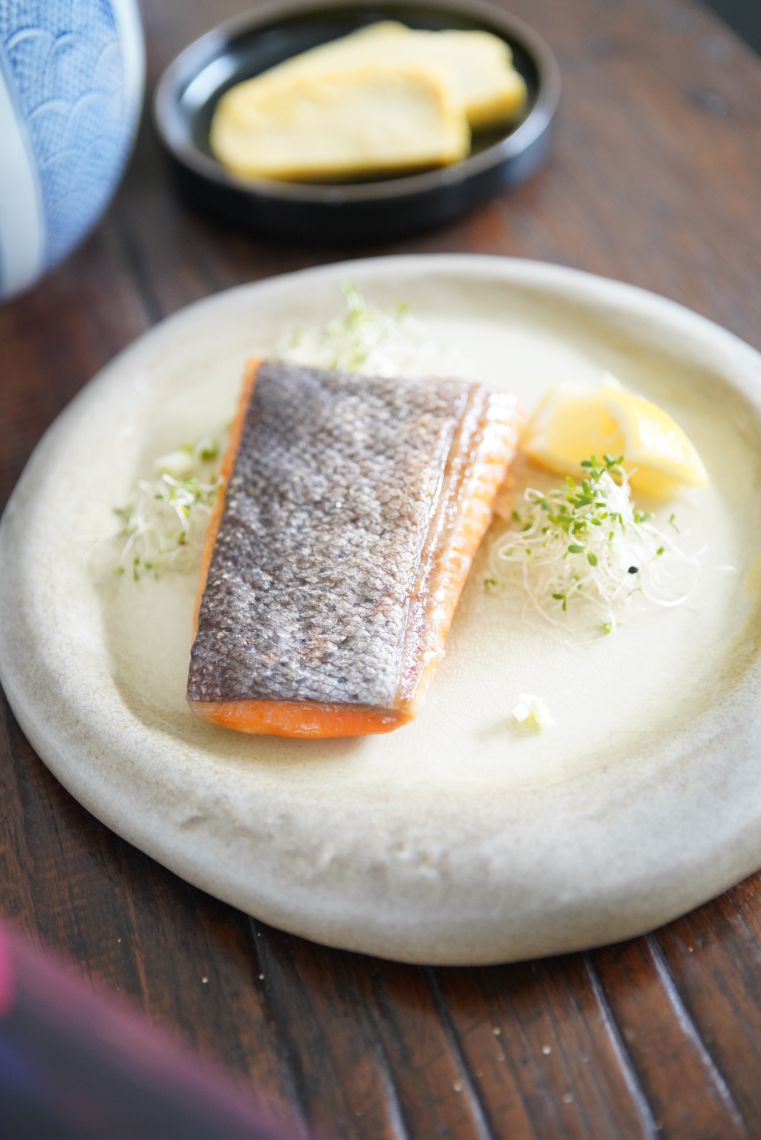
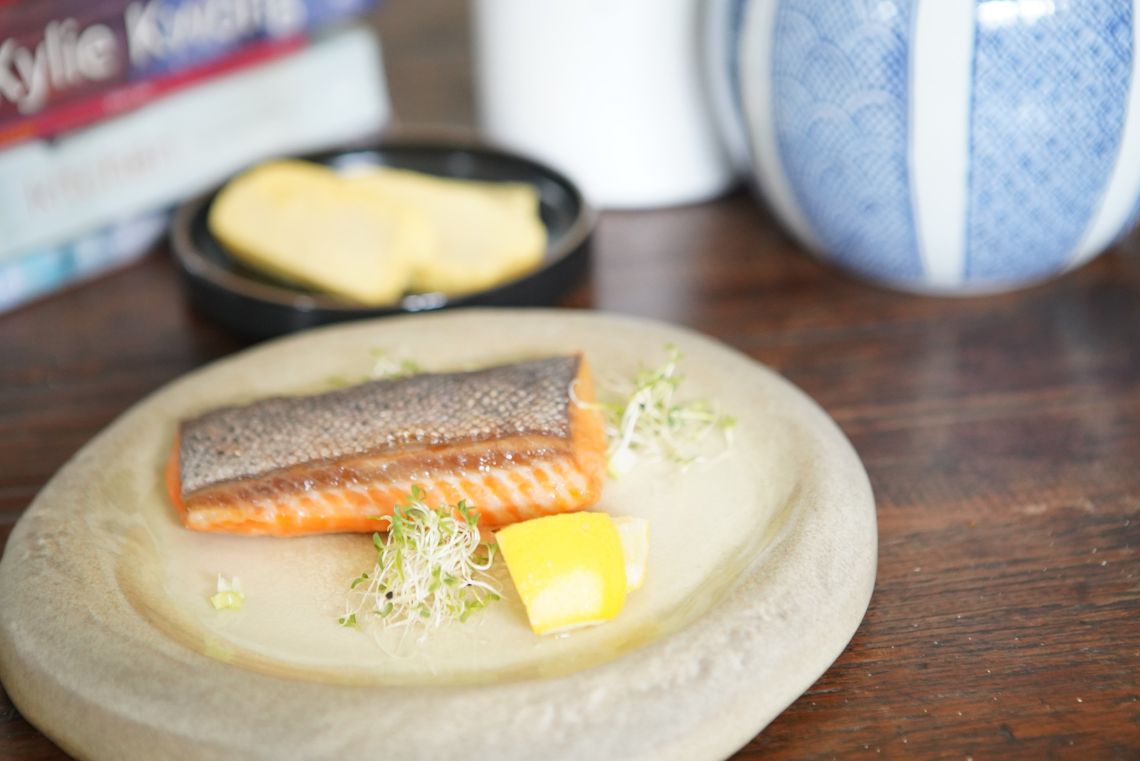
How to recognize perfectly cooked shiozake:
• The flesh is opaque and separates into moist flakes.
• The center is cooked through rather than translucent and raw.
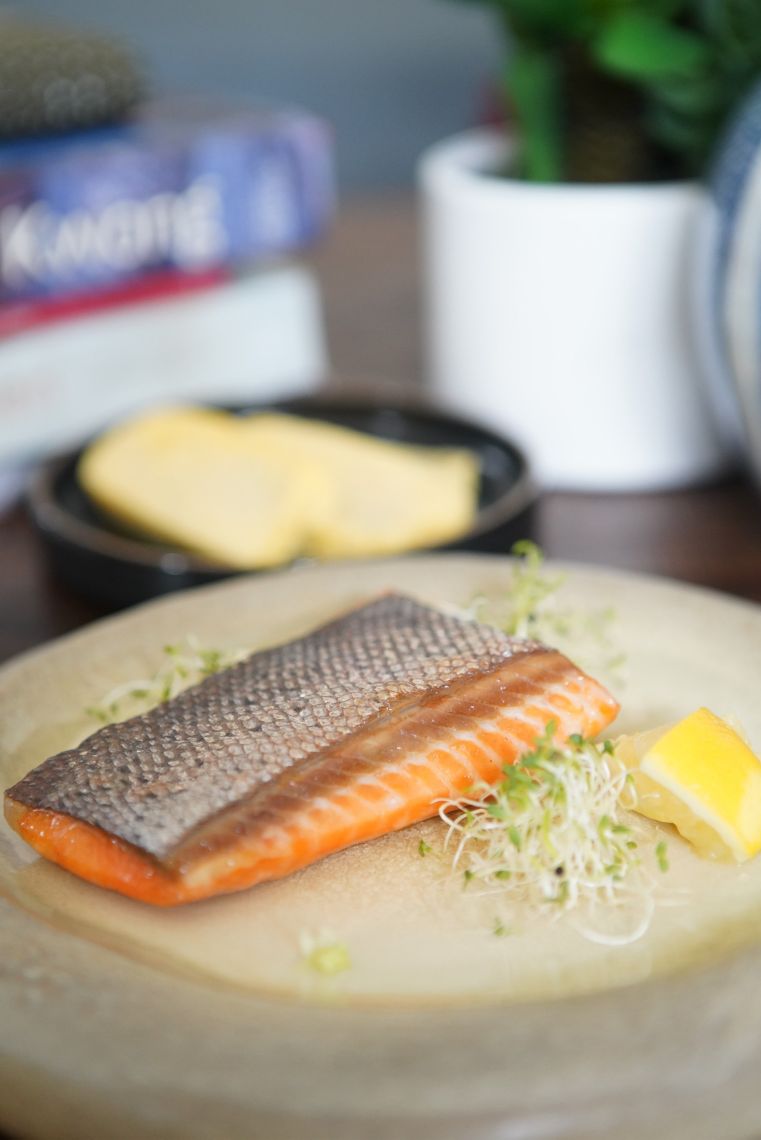
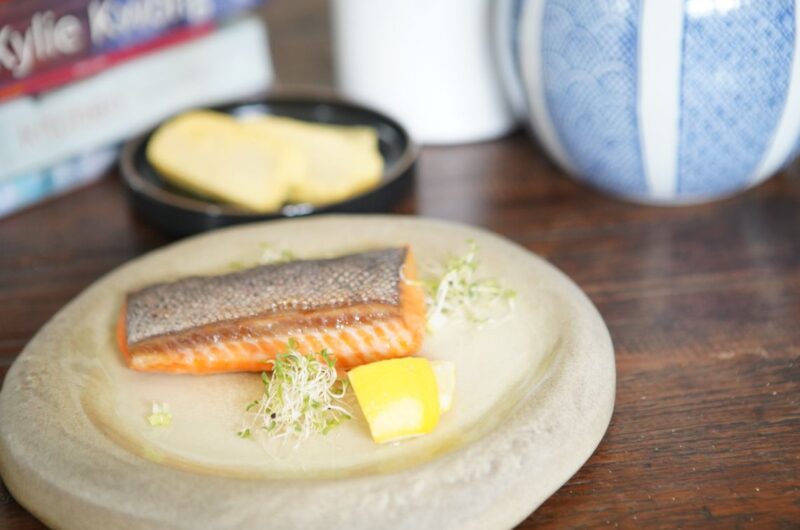
• The skin is browned, with crisp edges where the heat has reached it.
• The salmon remains moist and flavorful rather than dry and chalky. - Step 7 — Prepare the Grated Daikon
1. Peel the daikon radish and grate approximately 5 cm of the root using a fine or medium grater.
2. If the grated daikon releases excessive liquid, gently squeeze out a little of the moisture
3. Place the grated radish in a small serving dish.
4. Serve it alongside the salmon, either plain or with a few drops of soy sauce if desired.
Why serve daikon with salted salmon? Its fresh, clean flavor provides a refreshing contrast to the rich salmon and the concentrated salt seasoning. It helps balance the overall meal without competing with the fish. - Step 8 — Serve the Shiozake
Serve the salmon immediately while the skin is warm and crisp and the flesh is moist.
For a traditional Japanese-style meal, pair it with:
• Steamed Japanese short-grain rice
• Miso soup
• Japanese pickles (tsukemono)
• Grated daikon radish
• Tamagoyaki or a simple vegetable side dish
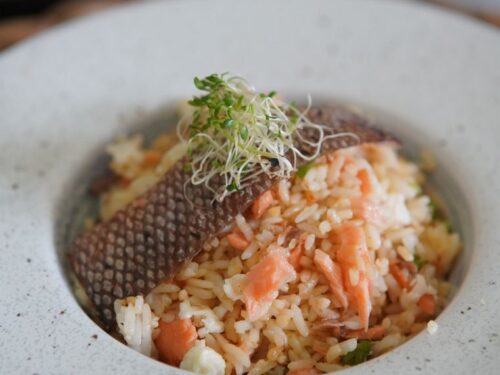
For another delicious option, remove the skin and flake leftover cooked salmon into warm rice, onigiri, or Japanese-style fried rice.
Notes
- Sandra's Kitchen Tips
1. Weigh your salt. The 5% salt ratio is based on the weight of the salmon, not the combined weight of the fish and other ingredients. A digital kitchen scale is the most reliable way to achieve consistent seasoning.
2. Keep the salmon cold. Cure it in the refrigerator at 4°C or below for the entire 48 hours. Salt does not make raw salmon safe to leave unrefrigerated.
3. Dry the surface before grilling. Moisture prevents good browning. Pat the salmon dry after curing and before cooking, taking care not to damage the flesh.
4. Adjust for the thickness of the fillets. Thin pieces can cook quickly under a broiler, while thick portions need more time. Use internal temperature rather than cooking time alone to judge doneness.
5. Avoid overcooking. Salmon continues to cook slightly after it leaves the oven. Remove it once it reaches the recommended safe internal temperature, then allow a brief rest.
6. Use leftovers thoughtfully. Refrigerate cooked salmon promptly in a covered container and use within 3–4 days. Flake it into rice dishes, rice balls, or a simple breakfast bowl. - Make Ahead and Storage
Once cured, the salmon can be wrapped in individual portions and frozen for convenient meals. Label and date the portions, and thaw them in the refrigerator before cooking.
For the best quality, use frozen cured portions within one month. Cooked salmon can be refrigerated in an airtight container for up to three days. - A Final Note from My Kitchen
For me, the beauty of Japanese salted salmon lies in its simplicity. There is no elaborate marinade or complicated sauce to hide behind—just good salmon, carefully measured salt, patience, and the right cooking technique.
The 48 hour cure gives the fish its distinctive character, while the final grilling brings out its natural richness and creates a delicious contrast between the seasoned flesh and the browned skin.
It is a reminder that some of the most memorable dishes come from understanding a few ingredients and treating them with care.
From My Kitchen Is Yours — Sandra Djohan