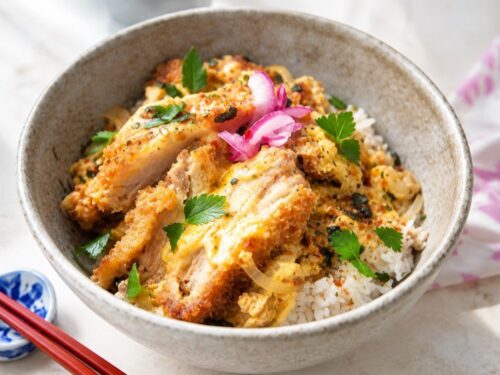

Chicken Katsudon
4
servings10
minutes30
minutesIngredients
- A. For the Chicken Katsu
400 g chicken tenders, approximately 8 pieces
60 g all-purpose flour
2 large eggs, approximately 100 g without shells, beaten
120 g Japanese panko breadcrumbs
Salt, to taste
Freshly ground black pepper, to taste
Approximately 300–500 ml neutral cooking oil for shallow-frying, or enough to reach about 1–2 cm in the pan
Chef's note: The original ingredient list specifies 1,440 ml of oil. For shallow-frying, you can generally use a smaller quantity, depending on the size and depth of your pan. The chicken should have enough oil around it to fry evenly.
- B. For the Katsudon Sauce
320 ml Japanese dashi stock
3 tablespoons sake
3 tablespoons mirin
3 tablespoons Japanese soy sauce
3 teaspoons granulated sugar
- C. For the Katsudon Topping
1 medium-large yellow onion, approximately 225 g, thinly sliced
4 large eggs, approximately 200 g without shells
8 sprigs mitsuba (Japanese parsley), chopped
4 servings cooked Japanese short-grain rice, approximately 200–250 g per serving
Ichimi togarashi (Japanese chili pepper), optional
- D. For Serving
Extra mitsuba or sliced spring onions
Additional ichimi togarashi, if desired
- EQUIPMENT
Chopping board and sharp knife
Three shallow bowls or plates for breading
Large frying pan for chicken
Separate lidded frying pan for simmering
Kitchen thermometer
Wire rack or paper towels
Chopsticks or fork
Four individual donburi bowls
Directions
- Step 1: Prepare the Ingredients
1. Prepare the dashi stock and measure all the sauce ingredients.
2. Peel the onion and slice it thinly from top to bottom. Thin slices will soften more quickly and distribute evenly throughout the dish.
3. Pat the chicken tenders dry with paper towels. If any pieces are significantly thicker than the others, gently flatten them to an even thickness.
4. Season both sides of the chicken lightly with salt and freshly ground black pepper.
5. Place the flour, beaten eggs and panko breadcrumbs in three separate shallow bowls.
Chef's tip: Drying the chicken before breading helps the flour adhere more effectively and reduces the chance of the coating slipping during frying. - Step 2: Bread the Chicken
1. Coat each chicken tender in flour, making sure all surfaces are covered.
2. Shake off any excess flour. Too much flour can create a thick, uneven coating.
3. Dip the chicken into the beaten egg, allowing the excess to drip back into the bowl.
4. Transfer the chicken to the panko breadcrumbs.
5. Press the panko gently onto the surface so the breadcrumbs adhere well.
6. Turn the chicken over and coat the other side.
7. Place the breaded chicken on a clean tray and allow it to rest for approximately 5 minutes.
Important: Keep one hand for the dry ingredients and the other for the wet egg mixture where practical. This helps prevent the breadcrumbs from becoming clumpy. - Step 3: Fry the Chicken Katsu
1. Pour enough neutral oil into a heavy frying pan to create a shallow layer approximately 1–2 cm deep.
2. Heat the oil to 170°C (340°F). Use a kitchen thermometer for consistent results.
3. Carefully place the breaded chicken into the oil without overcrowding the pan.
4. Fry for approximately 3–4 minutes on the first side, then turn and fry for another 2–4 minutes, depending on thickness.
5. Continue cooking until the coating is golden brown and the chicken reaches an internal temperature of 74°C (165°F) at its thickest point.
6. Transfer the cooked chicken to a wire rack to drain. A paper towel-lined plate can also be used.
7. Allow the chicken to rest briefly, then cut each tender into bite-sized strips if desired.
Chef's tip: Avoid turning the chicken too frequently. Let the panko develop a golden crust before turning it.
Food safety: Color alone does not confirm that chicken is fully cooked. Check the internal temperature with a food thermometer. - Step 4: Prepare the Katsudon Sauce
1. Place the sliced onion in a wide frying pan with a lid.
2. Add the dashi stock, sake, mirin, soy sauce and sugar.
3. Stir gently to dissolve the sugar and distribute the seasonings.
4. Bring the liquid to a gentle boil over medium heat.
5. Reduce the heat to medium-low, cover and simmer for approximately 4–6 minutes, or until the onion becomes soft and translucent.
6. Taste the broth. It should be savory and rich in umami, with a gentle sweetness that complements the chicken.
Chef's tip: Dashi is the foundation of the flavor. A well-made dashi stock gives the sauce depth without making it heavy. If your dashi or soy sauce is particularly salty, adjust the seasoning before adding the chicken. - Step 5: Add the Chicken Katsu
1. Arrange the fried chicken cutlets over the softened onions.
2. Allow the cutlets to sit in the simmering sauce for approximately 30–60 seconds.
3. Keep the heat at medium to medium-low so the sauce simmers gently rather than boiling aggressively.
4. Spoon a little sauce over the chicken to help the flavors come together.
The chicken will absorb some of the broth while retaining a degree of its crispness on top.
Chef's tip: Katsudon is traditionally served with a softened cutlet coating. For a balance of textures, avoid simmering the chicken for too long before adding the eggs. - Step 6: Prepare and Add the Eggs
1. Crack the four eggs into a bowl.
2. Using chopsticks, gently draw through the egg whites approximately 5–6 times to break up the thick strands. Do not beat the eggs completely; the whites and yolks should remain visibly marbled.
3. Ensure the sauce is gently simmering.
4. Pour the eggs evenly over the chicken and onions in a circular motion, starting near the center of the pan.
5. Avoid pouring too much egg directly onto the outer edge of the pan, where it may cook too quickly.
6. Cover the pan and cook over low to medium-low heat for approximately 30 seconds to 2 minutes, depending on the pan, heat and desired doneness.
7. Check the eggs frequently. They should become softly set and glossy rather than dry and rubbery.
8. Scatter the chopped mitsuba over the top and turn off the heat.
Chef's tip: The residual heat will continue cooking the eggs. Remove the pan from the heat when they are almost at your preferred consistency.
Food safety note: Eggs that remain runny or only partially set may pose a food-safety risk, particularly for pregnant people, young children, older adults and anyone with a weakened immune system. For these groups, cook the eggs until fully set or use pasteurized eggs where appropriate. - Step 7: Assemble the Katsudon
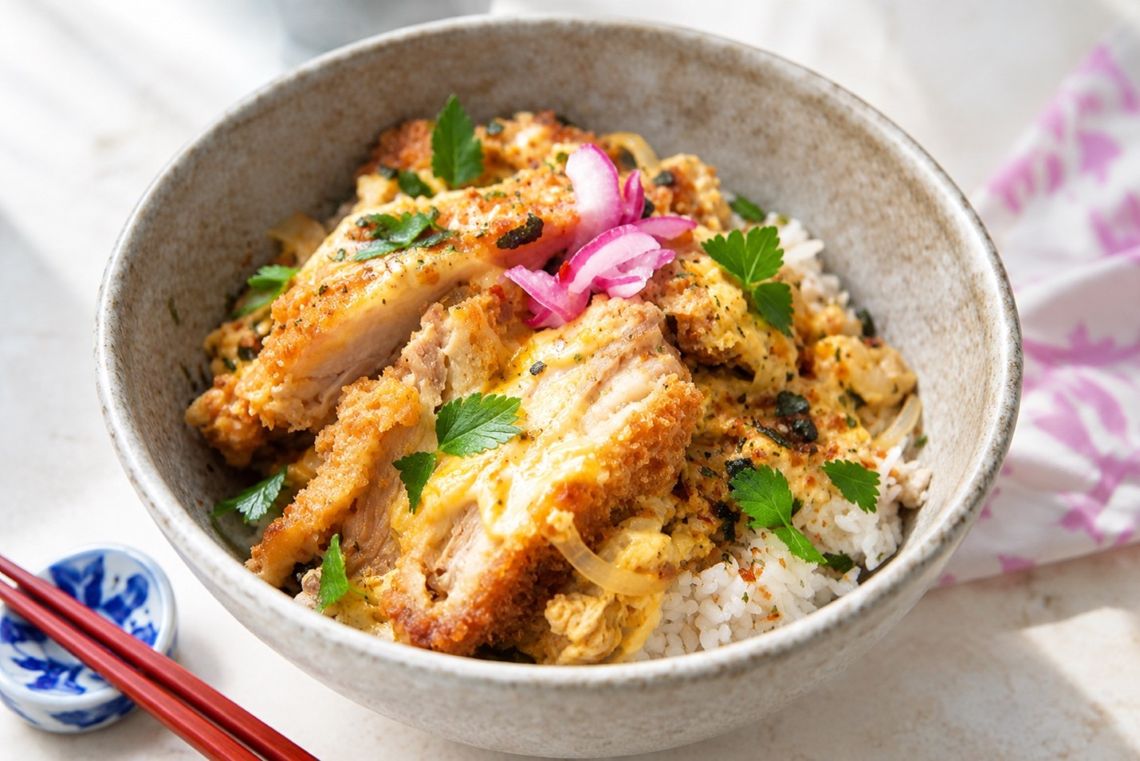
1. Divide the warm cooked Japanese short-grain rice among four donburi bowls.
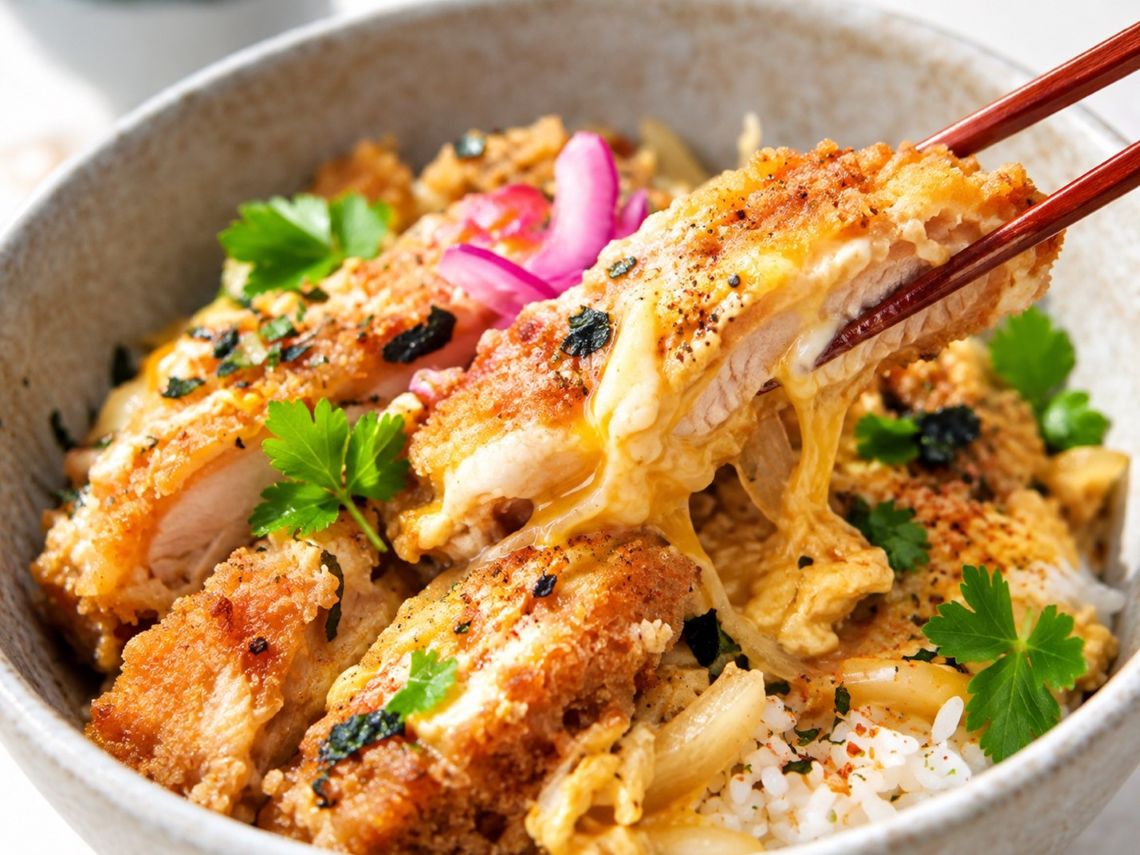
2. Use a wide spatula to transfer the chicken, egg and onion mixture onto each portion of rice.
3. Spoon some of the sauce over the rice, taking care not to add so much that the rice becomes overly wet.
4. Finish with fresh mitsuba or spring onions.
5. Sprinkle with ichimi togarashi for a gentle chili kick, if desired.
6. Serve immediately while the rice is hot and the eggs remain soft.