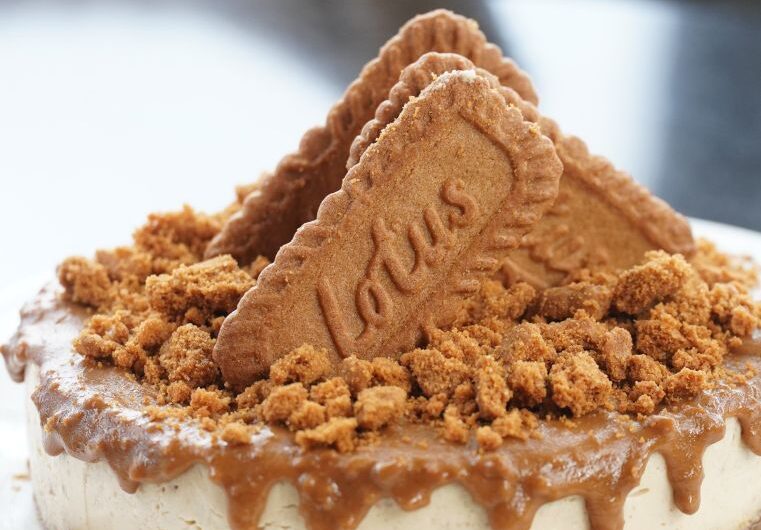
Biscoff Cheese Cake
Course: DessertCuisine: Belgian SpeculoosServings
15
servingsPrep time
1
hourCooking time
45
minutesCook Mode
Keep the screen of your device on
Ingredients
- 1. Speculoos Cookie Crust
250 g Speculoos or Biscoff cookies
100 g unsalted butter, melted
- 2. Creamy Biscoff Cheesecake Filling
500 g full-fat cream cheese, softened to room temperature
200 g Greek yogurt, at room temperature
150 g Speculoos or Biscoff spread
50 g caster sugar
2 large eggs, at room temperature
- 3. Glossy Biscoff Topping
150 g Speculoos or Biscoff spread
4 Speculoos or Biscoff cookies, lightly crushed
Method
- STEP 1 - Prepare the Pan and Oven
1. Lightly grease a 24 cm springform pan.
2. Line the base with baking paper. Line the sides as well, if desired, to help release the cheesecake cleanly.
4. Preheat the oven to 150°C conventional heat. If using a fan-assisted oven, reduce the temperature to approximately 140°C and check for doneness carefully.
5. Position the oven rack in the lower third of the oven.
Chef Sandra’s tip: Cheesecake is best baked gently. A moderate, steady temperature helps the filling cook evenly while reducing the risk of cracks, excessive browning, or a dry texture. - STEP 2 - Make the Speculoos Crust
1. Place the cookies in a food processor and pulse until they become fine, even crumbs. Avoid leaving large pieces, as they can make the crust difficult to slice neatly.
2. If you do not have a food processor, place the cookies in a sturdy zip-lock bag, seal it, and crush them with a rolling pin.
3. Transfer the crumbs to a mixing bowl.
4. Pour in the melted butter and mix thoroughly until every crumb is coated. The mixture should resemble damp sand and hold together when pressed between your fingers.
5. Transfer the mixture to the prepared pan.
6. Spread the crumbs evenly across the base. Use the bottom of a flat glass or the back of a spoon to press them down firmly, especially around the edges.
7. Refrigerate for 30 minutes to help the crust firm up before adding the filling.
Chef Sandra’s tip: Press the crust firmly and evenly, but do not build it too thick around the edges. An even base helps every slice hold its shape and gives a clean, attractive finish. - STEP 3 - Prepare the Cheesecake Filling
1. Make sure the cream cheese, Greek yogurt, eggs, and Biscoff spread are at room temperature. This is essential for a smooth batter.
2. Place the softened cream cheese in a large mixing bowl. Beat on low to medium-low speed until smooth and creamy, scraping down the sides of the bowl as needed.
3. Add the Greek yogurt and mix on low speed until fully incorporated.
4. Add the 150 g Biscoff spread. If it is too firm to mix easily, warm it gently for a few seconds until slightly softened, then allow it to cool until just warm.
Add the caster sugar and mix until evenly combined.
5. Add the eggs one at a time, mixing gently after each addition. Scrape the bowl to make sure no unmixed cream cheese remains at the bottom.
6. Stop mixing as soon as the batter is smooth and uniform.
7. The finished batter should be thick but pourable, with no visible lumps.
Chef Sandra’s tip: Avoid whipping excessive air into the filling. Too much air expands in the oven and contracts as the cheesecake cools, which can lead to cracks or a sunken centre. Use a low mixing speed and do not overbeat after adding the eggs. - STEP 4 - Fill the Pan
1. Remove the chilled crust from the refrigerator.
2. Pour the cheesecake mixture over the crust.
3. Gently spread the filling with an offset spatula until the surface is level.
4. Tap the pan lightly on the work surface once or twice to release any large air bubbles.
5. Wipe the rim of the pan clean if necessary.
Optional professional tip: For an especially smooth top, run a small spatula gently across the surface before baking. Avoid repeatedly tapping the pan, as excessive handling can disturb the crust. - STEP 5 - Bake the Cheesecake
1. Place the pan on the lower oven rack.
2. Bake at 150°C for approximately 45–55 minutes. Begin checking at 45 minutes, as ovens vary.
3. Look for these signs of doneness:
4. The outer edges should appear set.
5. The centre should still have a slight, gentle wobble when the pan is moved carefully.
6. The surface should look mostly matte and set rather than liquid.
7. If the centre ripples like liquid, continue baking for another 5 minutes before checking again.
8. Avoid opening the oven repeatedly, as sudden temperature changes can affect the texture.
Important: Do not wait for the entire cheesecake to become completely firm in the oven. The residual heat will continue cooking the centre as it cools. Overbaking can produce a dry, dense filling. - STEP 6 - Cool Slowly to Prevent Cracks
1. When the cheesecake is ready, turn off the oven.
2. Leave the cheesecake inside the oven for approximately 1 hour, with the door slightly ajar if practical.
3. Remove the pan and place it on a wire rack.
4. Allow it to cool at room temperature until it is no longer warm.
5. Once cooled, cover the cheesecake and refrigerate for at least 4 hours, preferably overnight, until thoroughly chilled and fully set.
Chef Sandra’s tip: Slow cooling is one of the most important secrets to a beautiful baked cheesecake. Avoid moving it directly from a hot oven into a cold refrigerator. A gradual temperature change helps minimise cracking and sinking. - STEP 7 - Prepare the Glossy Biscoff Topping
1. Place the remaining 150 g Biscoff spread in a microwave-safe bowl.
2. Microwave in short bursts of 5–10 seconds, stirring between each interval, until the spread becomes smooth and pourable.
3. If you prefer not to use a microwave, warm the spread gently in a heatproof bowl over a pan of barely simmering water.
4. Remove the chilled cheesecake from the refrigerator.
5. Pour the softened spread over the centre of the cheesecake.
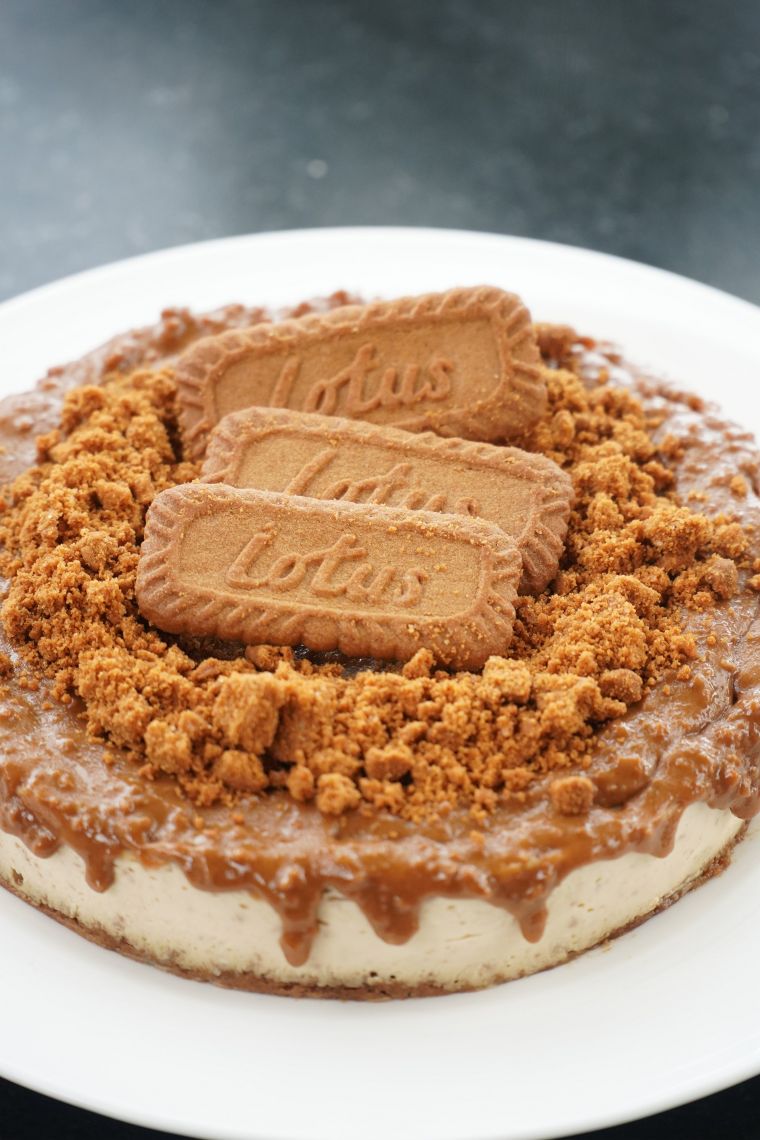
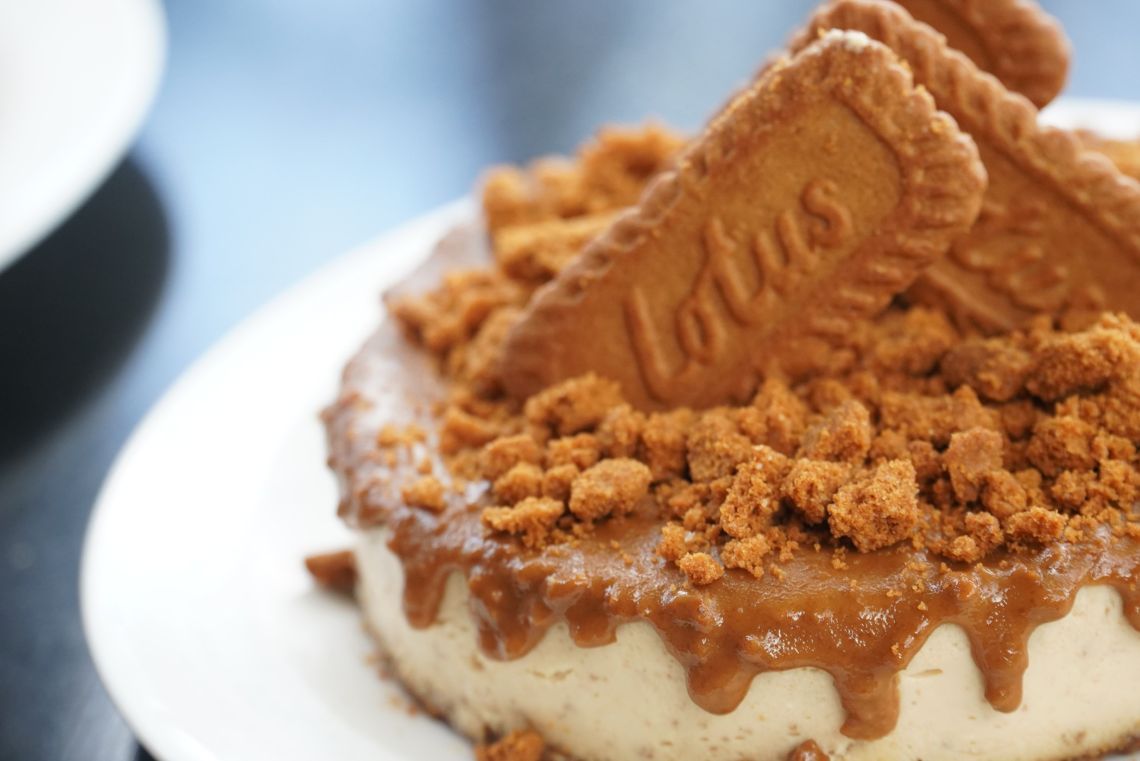
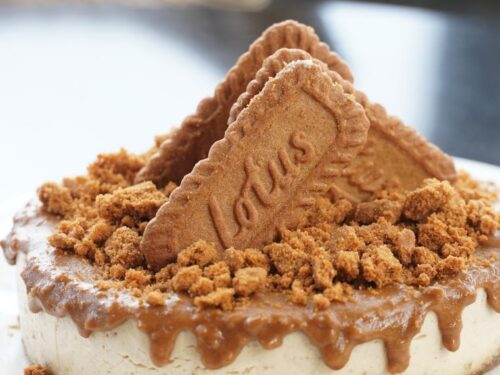
6. Use an offset spatula to guide it evenly toward the edges, allowing a few attractive drips to fall naturally down the sides.
7. Leave the topping to settle. If it becomes too runny, allow it to cool briefly before spreading.
Chef Sandra’s tip: The topping should be fluid enough to spread smoothly, but not hot. Excessive heat can soften the chilled filling and make the finish uneven. - STEP 8 - Finish and Serve
1. Lightly crush the remaining four cookies. Aim for a mixture of small crumbs and a few larger pieces for texture.
2. Sprinkle the crushed cookies around the edge of the cheesecake, leaving some of the glossy topping visible.
3. Refrigerate briefly to allow the topping to settle.
4. Release the springform ring carefully.
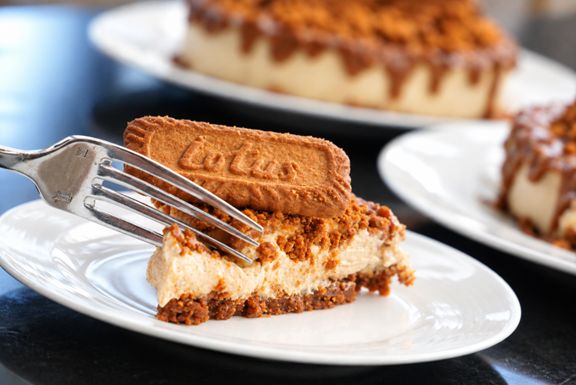
5. For clean slices, dip a sharp knife into hot water, wipe it dry, and cut. Repeat between slices.
Serve chilled, when the filling is firm yet creamy and the cookie crust remains buttery and crisp.
Notes
- For the best texture
- Use full-fat cream cheese for a rich, stable filling.
- Choose thick Greek yogurt rather than a very watery yogurt.
- Bring all filling ingredients to room temperature before mixing.
- Mix gently, particularly after adding the eggs.
- Chill thoroughly before cutting. - If you do not have Greek yogurt
You may substitute an equal amount of plain, unsweetened yogurt or sour cream. If using a thin yogurt, strain it first to remove excess liquid. Sour cream will create a slightly richer, tangier flavour.
If you do not have Biscoff spread
A similar smooth Speculoos cookie butter spread can be used. Choose a product with a comparable consistency so that the filling and topping behave as expected.
How to know when it is ready
The cheesecake should have set edges and a small, gentle wobble in the middle. The centre will firm up as it cools and chills. - Storage
- Refrigerate in an airtight container for up to 3 days.
- Keep the cheesecake chilled when not serving.
- For the best texture, add the crushed-cookie garnish shortly before serving, as moisture from the topping can soften the crumbs.
- Freeze individual slices, well wrapped, for up to 1 month for best quality. Thaw overnight in the refrigerator.