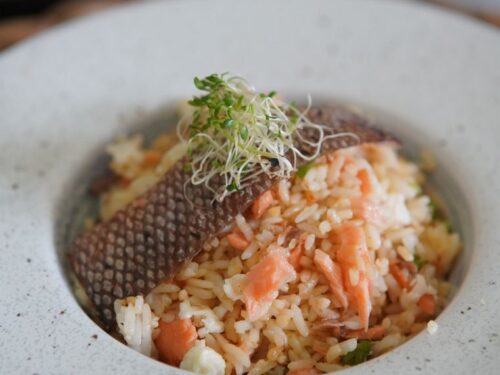
Why I Love Salmon Fried Rice
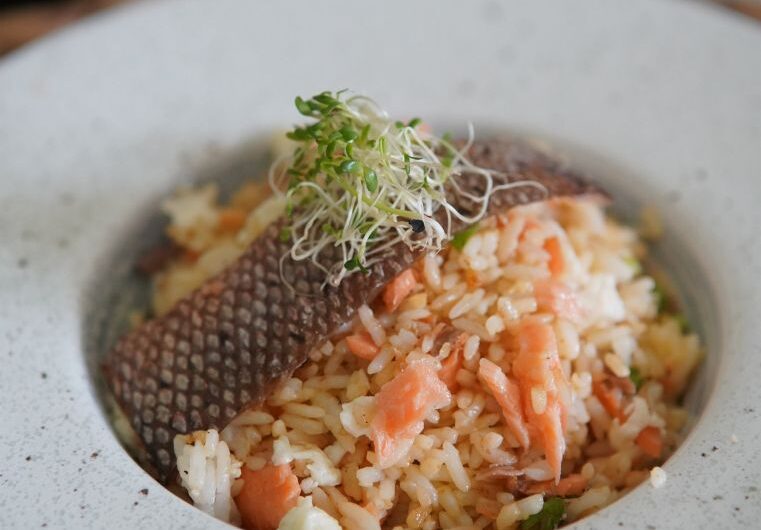
Salmon Salt Fried Rice
Course: Main, Lunch, DinnerCuisine: JapaneseServings
4
servingsPrep time
15
minutesCooking time
15
minutesCalories
670
kcalCook Mode
Keep the screen of your device on
Ingredients
- PART 1 - For the Salted Salmon
2 skin-on salmon fillet (8 oz, 240 g; I use salmon from a Japanese grocery store, so it‘s a thinner cut; leftover salted salmon (shiojake) works well)
0.5 tsp Diamond Crystal kosher salt
- PART 2 - For the Fried Rice
2 green onion/scallion
2 large eggs (50 g each w/o shell)
4 Tbsp neutral oil
2 Tbsp toasted sesame oil
4 servings cooked Japanese short-grain rice (typically 150 g per serving; cooled or preferably day-old; frozen cooked rice works well)
2 tsp soy sauce
0.5 tsp Diamond Crystal kosher salt (to taste)
0.25 tsp ground white pepper (to taste)
0.25 tsp freshly ground black pepper (to taste)
Directions
- Before You Start:
Gather all the ingredients. I recommend cooking only 2 servings at a time, especially if you‘re new to making fried rice. The ingredients need space to move around in the wok, and the wok gets heavy to lift and shake if you cook more than 2 servings. For the cooked rice, please note that ¾ cup (150 g, 1 rice cooker cup) of uncooked Japanese short-grain rice yields 2¼ US cups (330 g) of cooked white rice. See how to cook short-grain rice with a rice cooker, pot over the stove, Instant Pot, or donabe. - Step 2 - Prepare the Rice
1. If using freshly cooked rice, spread it on a wide tray in a shallow layer to release excess steam. Cool it promptly and refrigerate it in a shallow container if you are not cooking immediately.
2. If using day-old rice, break up large clumps gently with clean, damp fingers or a rice paddle before cooking.
3. If using frozen cooked rice, thaw it safely in the refrigerator or reheat it directly according to your preferred method until the grains can be separated.
4. Measure approximately 600 g cooked rice for the recipe and set it aside.
Chef's tip: Avoid using rice that is wet, excessively soft, or freshly cooked and steaming. Excess moisture encourages clumping and steaming rather than frying. For food safety, cool cooked rice promptly, refrigerate it within two hours, and avoid leaving it at room temperature for extended periods. - Step 3 - Prepare the Salted Salmon
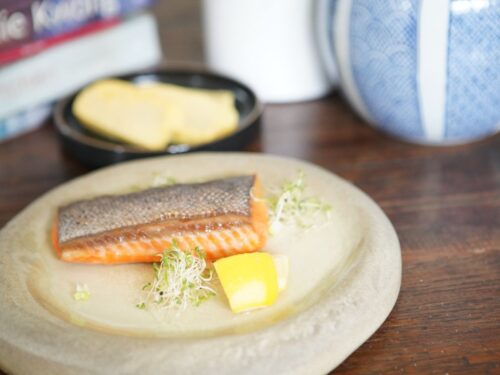
1. Pat the salmon fillets dry with paper towels.
2. Sprinkle the salt evenly over both sides of the fillets.
3. If time permits, refrigerate the salted salmon uncovered for approximately 15–30 minutes to season the flesh and dry the surface slightly.
4. Heat a nonstick frying pan over medium heat. Add a small amount of the measured neutral oil.
5. Place the salmon skin-side down and cook for approximately 3–5 minutes, depending on thickness, until the skin is golden and the flesh begins turning opaque.
6. Turn the fillets and cook the other side for another 2–4 minutes, or until the thickest part reaches 63°C and the fish flakes easily.
7. Transfer the salmon to a plate and allow it to rest briefly.
8. Remove the skin if preferred, then gently flake the flesh into bite-sized pieces, removing any bones.
Chef's tip: If using leftover shiozake, skip the salting and cooking steps. Flake the already-cooked salmon and add it directly to the fried rice later. This is an excellent way to use leftover salmon without overcooking it. - Step 4 - Prepare the Eggs and Spring Onions
1. Crack the eggs into a small bowl and beat lightly with a fork until the whites and yolks are combined.
2. Slice the spring onions thinly, keeping the white and green portions separate.
3. Set the flaked salmon, eggs, spring onions, rice, soy sauce, sesame oil, salt, and pepper within easy reach of the stove.
Why prepare everything beforehand? Fried rice cooks quickly over high heat. Having all the ingredients ready allows you to maintain the correct temperature without overcooking the eggs or drying out the salmon. - Step 5 - Scramble the Eggs
1. Heat a large wok or wide frying pan over medium-high heat.
2. Add approximately 1 tablespoon of the measured neutral oil and swirl it around the pan.
3. Pour in the beaten eggs and allow them to set slightly around the edges.
4. Gently scramble with a spatula until the eggs are softly set but still moist.
5. Transfer the eggs to a clean plate and set aside.
Chef's tip: Removing the eggs before adding the rice prevents them from becoming dry and rubbery. They will be returned to the pan at the end of cooking. - Step 6 - Fry the Spring Onion Whites
1. Add the remaining neutral oil to the wok.
2. Add the white portions of the spring onions and stir-fry for approximately 20–30 seconds until fragrant.
3. Keep the ingredients moving so the onions soften without browning excessively.
The spring onion whites infuse the oil with a gentle savory aroma that forms the foundation of the fried rice. - Step 7 - Add and Fry the Rice
1. Add the cooled rice to the wok.
2. Use a spatula to break apart any remaining clumps, gently separating the grains without crushing them.
3. Spread the rice across the hot surface and let it sit briefly before tossing.
4. Continue stir-frying for approximately 3–5 minutes, tossing frequently until the rice is heated through and the grains begin to feel drier and more distinct.
If the wok is small, fry the rice in two batches. Overcrowding reduces the pan temperature and can cause the rice to steam.
Chef's tip: Do not press the rice into a solid layer or mash it while stirring. Lift and turn it with a spatula to preserve the grains and distribute the oil evenly. - Step 8 - Season the Rice
1. Drizzle the soy sauce around the inner edge of the hot wok rather than pouring it all into one spot on the rice.
2. Toss immediately so the soy sauce heats briefly and distributes evenly.
3. Add the ground white pepper and black pepper.
4. Taste before adding the additional salt, particularly if your salmon is already well seasoned.
The rice should be lightly seasoned, aromatic, and balanced rather than dark or overly salty.
Chef's tip: White pepper gives the dish a gentle, rounded heat, while freshly ground black pepper adds a more pronounced aroma. Using both creates complexity without overpowering the salmon. - Step 9 - Add the Salmon and Eggs
1. Return the flaked salmon and scrambled eggs to the wok.
2. Fold them gently into the rice, distributing the salmon throughout without breaking it into a paste.
3. Stir-fry for approximately 1–2 minutes, until the salmon is hot and the eggs are fully incorporated.
If using leftover cooked salmon, avoid prolonged cooking. It only needs to be heated through. - Step 10 - Finish with Sesame Oil and Spring Onion Greens
1. Reduce the heat to medium or turn it off.
2. Drizzle the toasted sesame oil over the rice and toss gently to distribute its fragrance.
3. Add the green portions of the spring onions and toss briefly.
4. Taste and adjust the salt and pepper if necessary.
5. Serve immediately while the rice is hot and fragrant.
Why add sesame oil at the end? Toasted sesame oil has a distinctive nutty aroma that is best preserved when it is not exposed to prolonged high heat. Finishing with it gives the rice a more pronounced fragrance.
To Serve
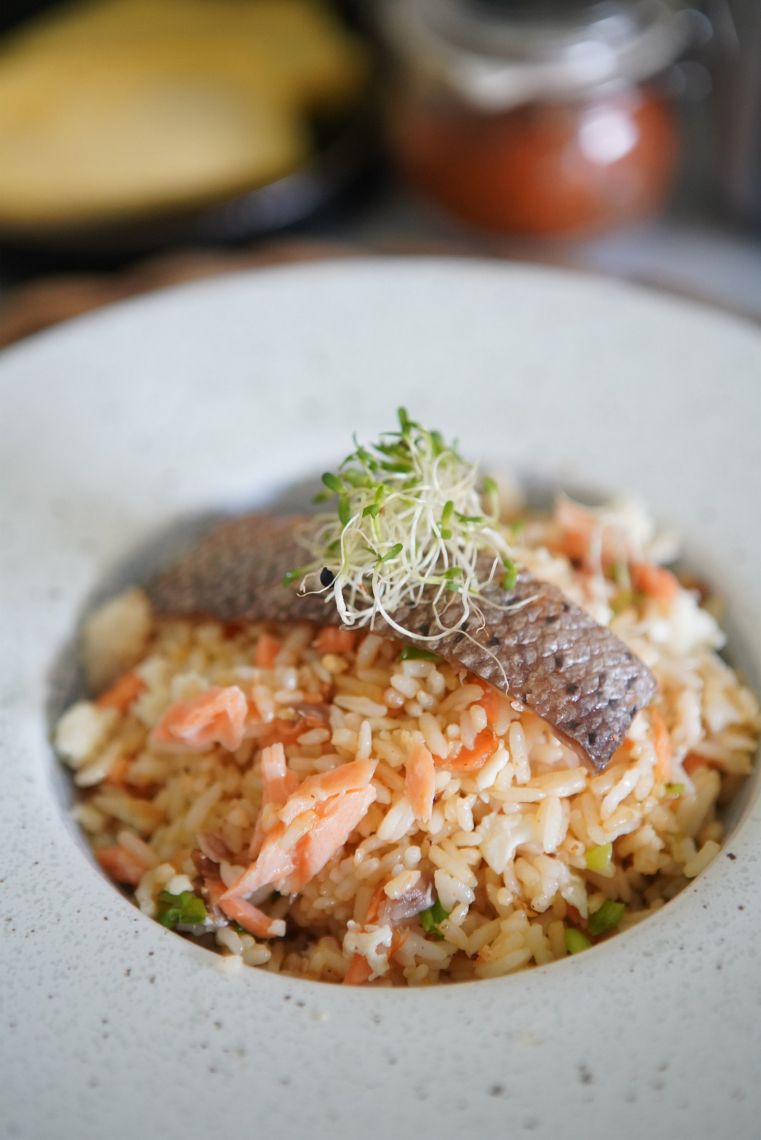
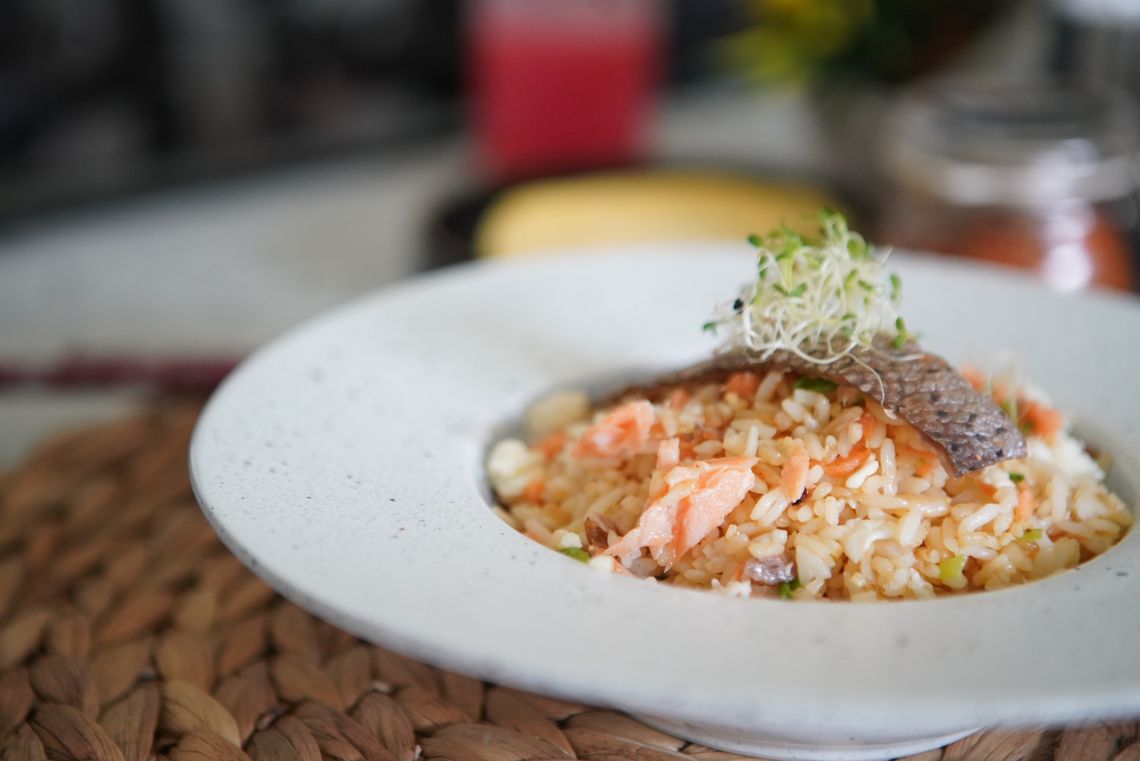
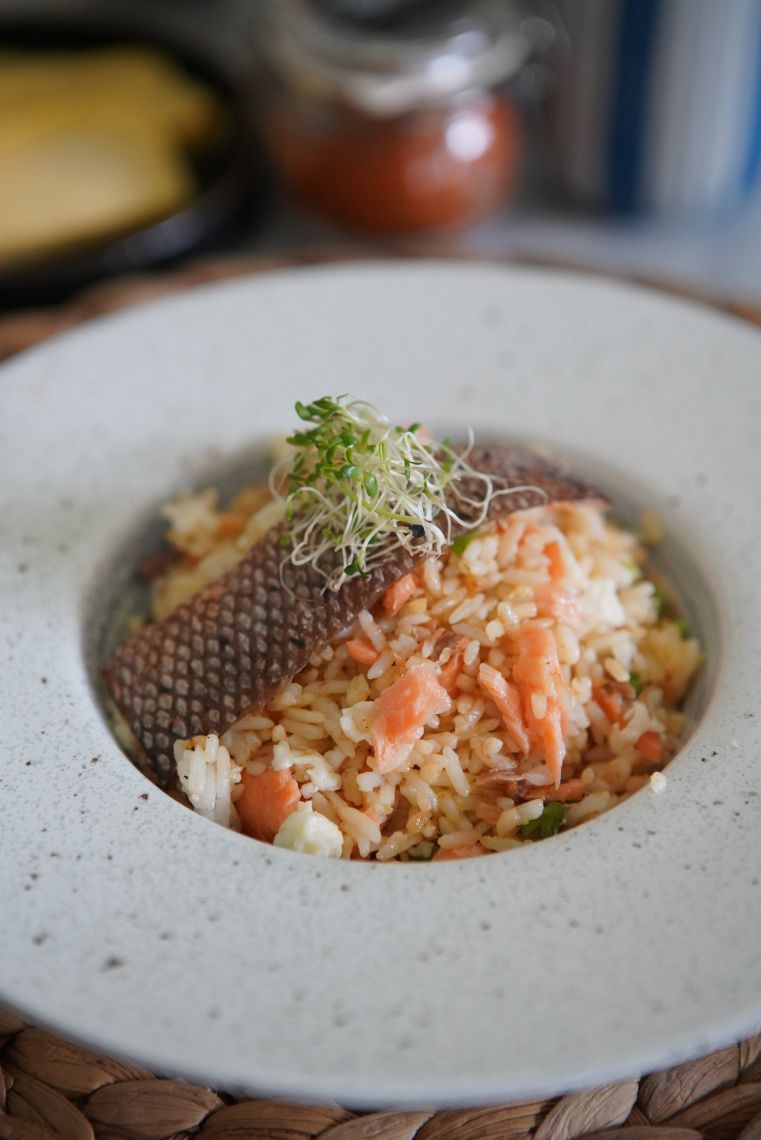
1. Fill a rice bowl with the fried rice and invert it onto a plate. Serve immediately.
To Store
1. You can keep the leftovers in an airtight container and store in the refrigerator for 3 days or in the freezer for a month.
Notes
- Chef Sandra's Tips for Perfect Salmon Salt Fried Rice
• Use the right rice: Japanese short-grain rice offers its characteristic tender, slightly chewy texture. Cooling it properly helps the grains remain distinct during frying.
• Season the salmon separately: This builds flavor into the fish itself instead of relying entirely on the soy sauce added to the rice.
• Keep the salmon in generous flakes: Larger pieces provide a more satisfying texture and make the salmon a clear feature of the dish.
• Control the oil: Four tablespoons of neutral oil plus two tablespoons of sesame oil create a rich result. For a lighter version, reduce the neutral oil to 2 tablespoons and the sesame oil to 1 tablespoon.
• Add sesame oil at the end: This preserves its nutty fragrance.
• Taste before adding salt: Salted salmon and soy sauce both contribute sodium, so extra salt may not be necessary.
• Cook in batches if needed: A crowded wok traps moisture and prevents the rice from frying effectively. - Serving Suggestions
Serve the fried rice as a complete meal or pair it with miso soup, Japanese pickles, or lightly dressed cucumber salad. For a simple finishing touch, add extra sliced spring onion greens and a small pinch of freshly ground black pepper.
This recipe is particularly useful when you have leftover shiozake from a previous meal. The salt-cured salmon brings depth and character to the rice, turning everyday ingredients into a comforting Japanese-inspired dish.
From My Kitchen to Yours — Sandra Djohan